The best binoculars for little kids are toilet paper rolls! My super sis in law made these!
This blog is called "H-doodle" cause it is what my parents and siblings have always called me. This blog is for all those people, like me, who are looking for frugal, fun ideas for kids parties, school parties, holidays, gift ideas, church activities, cooking, canning, gardening and just all around ideas for being a mom. As I put ideas on this blog, it is simply to share ideas and to say that if I can do it, YOU can do it!
Monday, August 26, 2013
Valentine Candy Flowers!
Here's a way to get your Valentine
candy and your flowers! We used hot glue, chopsticks, cardstock paper, and floral tape.
Then we placed the flowers in jars
filled with dry white navy beans. I also attached a clothes pin covered in ribbon to hold a card!
Valentine Craft for Schoolkids!
This was a fovourite for the girls. It is a hershey kiss rose for the kids to make for their mothers/fathers.
I used chopsticks as the stem. We first put 2 kisses together (bases touching), then wrapped them in tissue paper. Then the tissue paper wrapped around the chopstick. We then used floral tape and started from the top and wrapped around the chopstick to cover them. We taped the leaves on and wrote a to and from on the leaves. I hope this makes sense. It was real simple and fun!
Chinese New Year!
We LOVE to celebrate the Chinese new year!
We decorate with chinese dragons, paper lanterns and whatever animal is in the zodiak for the year, example; year of the snake, horse or pig.
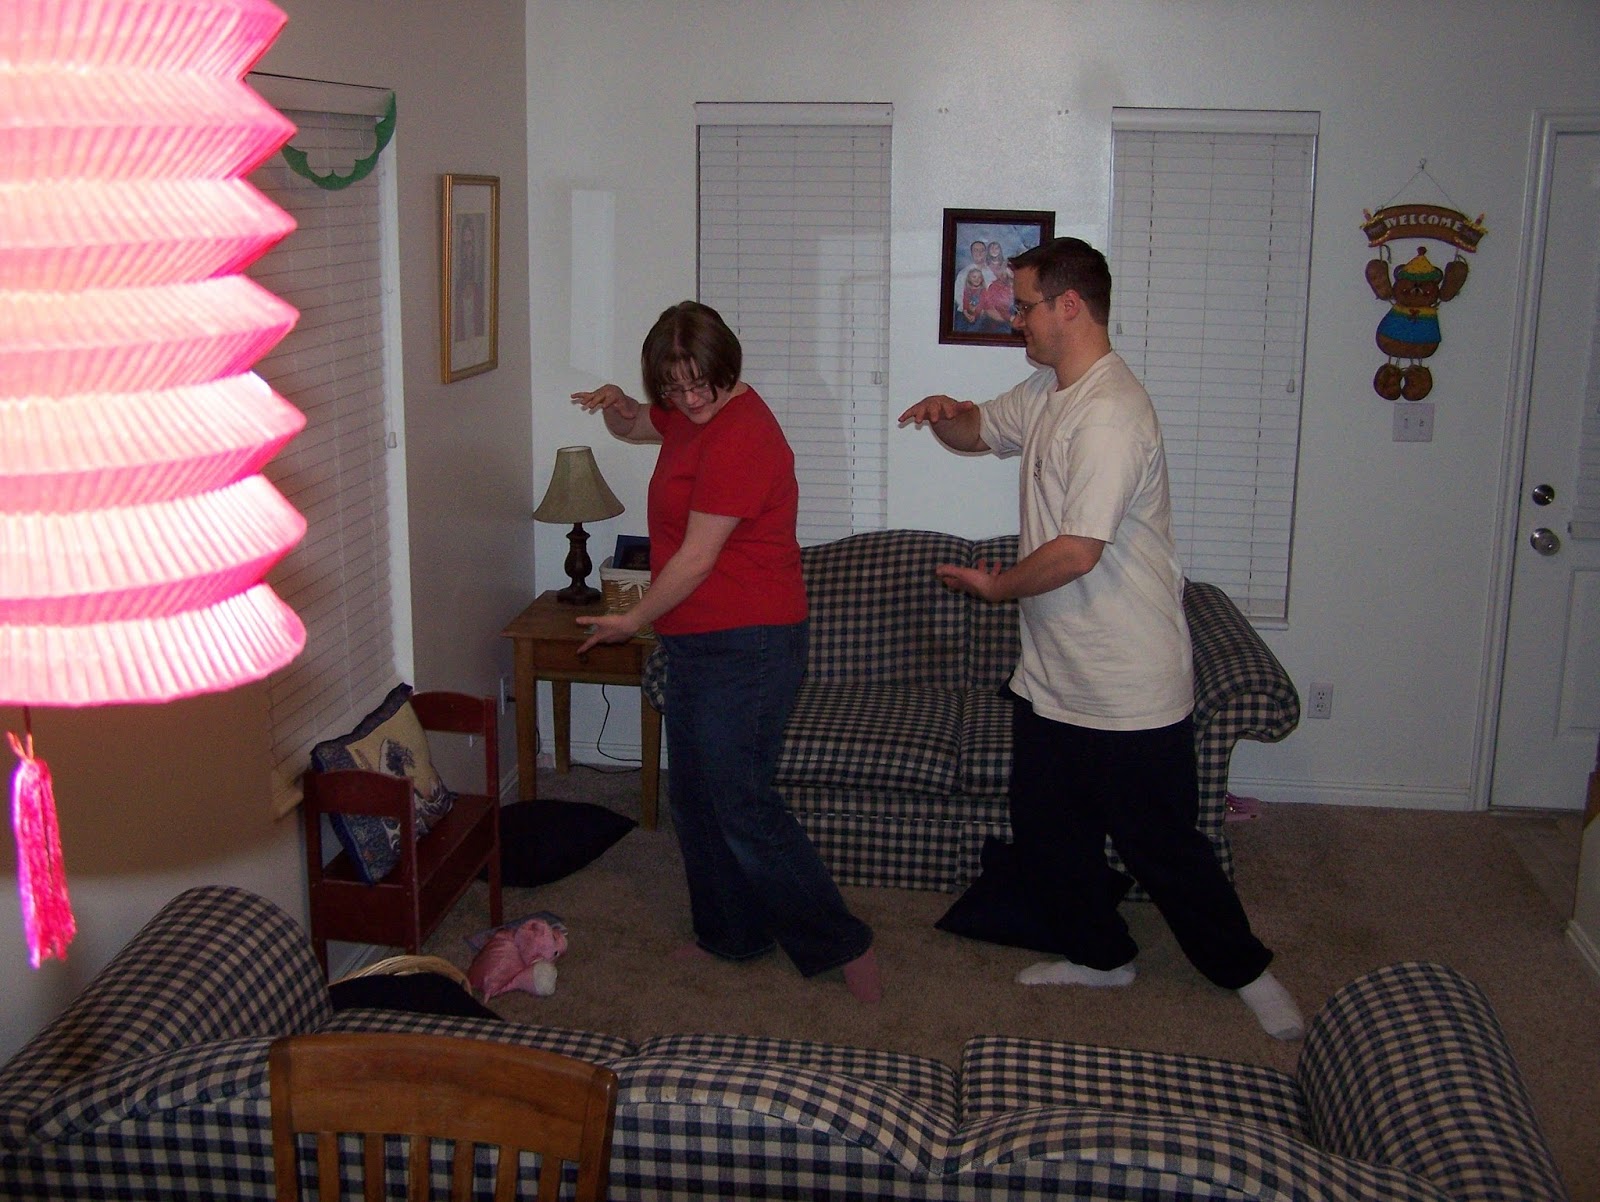
We've had fun doing tai-chi and playing chinese checkers!
Some years we've watched, "Mulan" or another Chinese themed movie and had Chinese food, fortune cookies, etc. It's just fun to have another excuse for a party! ;)
Best "tip" for kid's art!
So, what do you do when your child brings home a huge piece of art like this.....
...or something bulky like this....
...or something your NOT sure you want
to look at all the time, like this....
There are so many ways to display kid's art work, BUT the best tip I've ever had for storing or saving the majority of my kid's art, is to take a photo of it! Then you can say "goodbye" to the storage problem and still enjoy the art!
This works well for kids papers too :)
Baby Sized Cakes!
You probably already knew this, but just incase you didn't, did you know you can bake a cake in a soup can? This mini cake, for a baby's 1st birthday, was baked in a pineapple can (tin).
Just clean the can, and grease and flour it generously! Then pour the batter in. When the cake is baked, let it cool. Run a table knife around the inside of the can to loosen the cake from the edges. Feel free to use a can opener to take the bottom off to aid in getting the cake out. It just makes the cutest size of cake for a babies first birthday!
Below: Here is another mini can cake.
Below: Here is another mini can cake.
Mother/Daughter Luau
For one of our church activities we had a mother/daughter luau.
Below: Here are some of the refreshments. We made tropical cut out sugar cookies and macaroon cookies. We also had sherbet frappe'. It's
just mixed sherbet with sprite soda. When you mix it up it gets frothy. To be simple we served it like a rootbeer float in a cup, only substitute the ice rcream for sherbet and the rootbeer for sprite.
Below: We made candy leis out of strips of clear wrapping paper and a variety of candy.
We played indoor beachball vollryball! Super crazy and fun!
Also we had a photo booth for picture memories with the daughters and moms! We also had props to wear, hats, leis, etc...
PINK Party
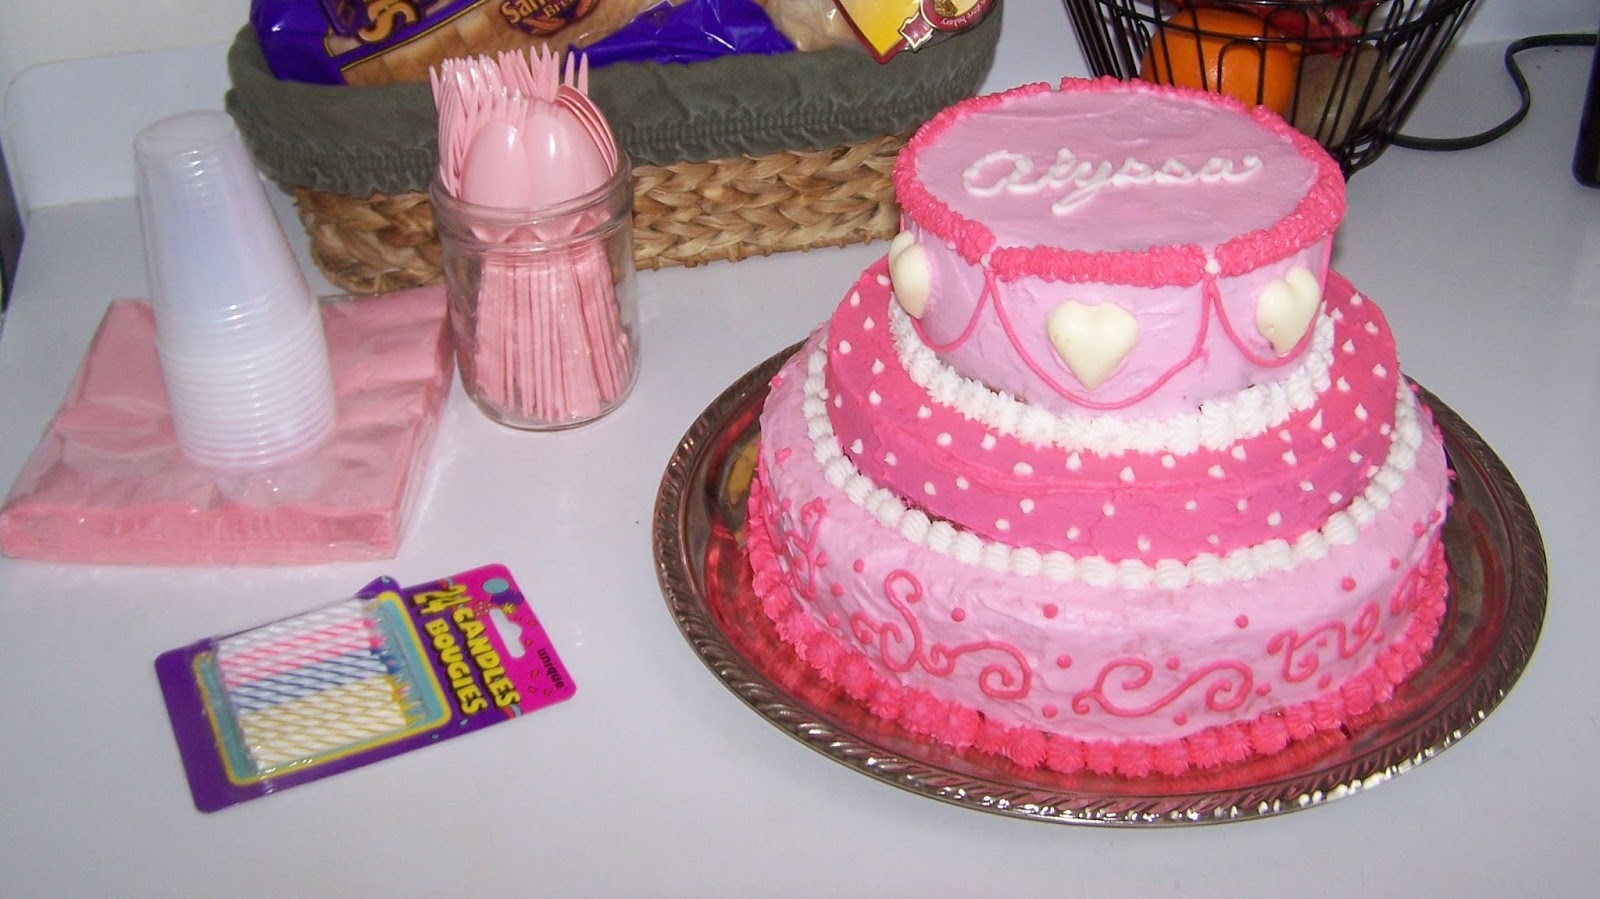
This party can be done with ANY colour, but because the birthday girl loved pink, that was the theme of the party. Basically EVERYTHING was pink! From the cake, to the serving supplies, to the decorations, even the games were PINK!
Below: For one of the games, we had 2 teams and 2 piles of PINK clothes or items to wear. It was a relay race...to have each team dress up in all the pink in their pile, turn around and pose, then quickly throw the items back in the pile and run back to their team, and so on till each player had a turn. Very fun for little girls!
Below: Another game was a guessing game. On person would be blindfolded with a PINK bandana. We gave them a pink rose. They'd be spun around by us till we stop them. They'd point their rose at one of the guests, then that person would have to say, "Pink" in a disguised voice, then the blindfolded girl had to say who they thought it was. Ha!
The cake was a three tier cake. We decorated it pink! The heart on top is white chocolate shaped like a heart...simply cause she wanted white chocolate! YUM!
"Puff Ball" Party!
Ya know those little puff balls that you can get at the craft store? Well, we had a blast with those one birthday! We made a bunch of puff ball creatures. Just hot glue the puff balls together
and add googly eyes!
Kids love them. My little kids could
play with them all day!
We let each guest make their own puff ball creature and then we played games WITH the puff balls. For the dessert we did puff ball cupcakes. We went very simple on these. We simply made cupcakes, then put a pick in each one. The picks were made out of paper with googly eyes, to look like the puff balls. Since the birthday girl was turning 6, we placed the cupcakes to form a "6".
Below: We played "hot potatoe" but with a puff ball.
Above: For this game we simply had the kids try to make their puff ball creature move by blowing on them. It sounds silly, but it was really fun! They had fun watching their puff balls fly across the table and onto the floor.
Below: this game was so silly and fun! We made a "hot air balloon" and let our puff balls travel in it. This only works if you have stairs. We attached the homemade hot air balloon to a straw. A cord went through the straw and ran from the upstairs to the downstairs. We held onto the balloon upstairs till the puffball was placed in it...then we let go of the balloon and it slowly traveled down the stairs. Ha!
Decorations for the party were super simple. Lots of balloons, streamers and to match the theme we attached paper googly eyes to our balloons, so they looked like puff balls. You can see them sticking out of the box. I think we played a balloon toss game with them too.
The "Great Pumpkin" Cake!
Here is another pumpkin cake! It was a round cake on top of a regular cake. We used mini candy pumpkins around to be the pumpkin patch, so that the round cake decorated would look like the GREAT pumpkin. We used a "HoHo" for the stem. Ha!
Fun to make and fun to eat!
Wednesday, August 21, 2013
My favourite "Totoro" cake!
This is definately my favourite cake!
It was our second time to play with fondant! That stuff is a fun medium to work with! The base of the cake is chocolate, but "Totoro", the cute Japanese animated creature, is fondant over sculpted rice crispy treats. We used fondant flowers and buttercream leaves. This was made for my sweet niece who was turning 13! She asked for a Totoro cake! Too fun!
I wrote "tonari no totoro" in Japanese at the bottom.
That means, "My neighbor Totoro".
"Tie-Dyed" Party!
This party was really fun!
The inspiration for the party was the cool tie-dyed balloons we got at Hobby Lobby. We also hit a sale on tie-dye, so we based the party around that! We found these cool napkins at the grocery store. The party favour bags had tie-dyed balloons (not blown up) and the old classic candy buttons. They looked cool.
We had each guest bring a t-shirt to tie-dye. Once the t-shirt was tied and dyed we placed it in a large ziplock baggie. We wrote the kids name on the bag and then stapled the directions onto the bag, so the parents would know what to do with it! Hopefully it wasn't too much work for them. We know of one guest who loved his
t-shirt and wore it all the time!
These balloons are soo cool! They were from walmart. I think we got 100 for 2 dollars. We made them into water balloons for the balloon toss game. It was hot out, so after dying their shirts, we played this! Cooled them down!
Waterballoon toss, with towels.
We were going to use tie-dyed pillowcases, but we didn't.
Alas, the Cake! It was pretty crazy! It was a round cake base, star cake middle and a fondant ball top. For the cake we divided the batter into 4 bowls and coloured each bowl a different colour. We then spooned the different colours randomly into the cake pan. Use a knife to then swirl the colours around in the cake pan. Be careful not to mix them, just gently swirl them, so that the colours don't blend into one yucky colour. Then after baking and cooling, we covered it in tie-dyed fondant. This was our first time to attempt fondant. We made it ourself, easy!!!! Don't ever spend lots of money on it, cause it's too easy and cheap to make yourself! See the blog for the recipe. Anyway, we separated the white fondant into 4 balls. We coloured them neon pink, purple, blue and yellow. We then rolled them into snakes and began twisting them together. Then we rolled the fondant out. It looked tie-dyed. We cut out the ABCs and glued them onto the cake, by applying a dab of water to each letter.
The black on the face of the smiley face balls is just
black food colouring.
Pretty Crazy! Here are a few more views!
NOTE* Play-doh ice cream would have been festive too!
Subscribe to:
Comments (Atom)


